OsX Leopard on Asus P5Q-E (boot 132 / vanilla)
This is my own guide to install Leopard 10.5.6 Vanilla on an Asus P5Q-E, including automatic later updates to 10.5.7. (updated now to 10.5.8). If you are interested on Snow Leopard, have a look here.
There are other guides around, but none worked exactly as expected, so this post lists the way I was able to successfully install it. I include references to all the places where I gathered the required information.
Everything works on my PC, with a minor caveat: it can go to Sleep, but afterwards it always fail to restart or shutdown. My hardware is rather common:
- Cpu: Q9550, no overclocked (at least not at this moment).
- Motherboard: Asus P5Q-E
- Memory: 8Gb (4 Corsair PC2-1066).
- Graphic card: 9800GT 512Mb (Sparkle, passive cooling).
- Hard disk: Velociraptor 10000rpm, 300Gb
- Cd drive: LG, Dvd +-rw.
The hardware includes as well a hotswap rack, and, probably quite interesting, all my fans have fixed speed. I had found that the motherboard would get crazy at moments, putting them at high speed / full noise (using Vista 64bits or Ubuntu). I solved it by using non PWM fans, at 800 to 1200 rpm. In my LianLi case, they are rather quiet.
My final setup has the single velociraptor hard disk holding Vista 64 bits, OsX Leopard 10.5.7 and Ubuntu 9.04 64bits. But to reach this setup I used two additional hard disks -one fully reformated, the another one just needs a free partition of less than 10 Gb-. The three hard disks are identified as:
- TARGET: the final velociraptor drive, with all my OSes installed.
- TEMP: an intermediate hard disk, with at least a free 10Gb primary partition.
- FINAL: a hard disk that will be fully reformated. I call it FINAL because, in fact, it contains a final installation of OsX (that I will copy to TARGET).
- Patch bios
- Setup bios
- Boot flash
- Mac machine
- Restore Leopard (installation disk)
- Install Leopard
- Tune the installation
- One drive to rule them all
- Update: upgrade to 10.5.8
Patch bios
This is the very first step, and took me very long time to assume, as I was not that comfortable at downloading a BIOS. Allegedly, the BIOS mods replace the DSDT for your motherboard/CPU, replacing the following code: (the original insanelymac post -topic 136586- is not available any longer)
 Scope (_PR)
    {
      Processor (P001, 0x01, 0x00000810, 0x06) {}
      Alias (P001, CPU1)
      Processor (P002, 0x02, 0x00000000, 0x00) {}
      Alias (P002, CPU2)
      Processor (P003, 0x03, 0x00000000, 0x00) {}
      Alias (P003, CPU3)
      Processor (P004, 0x04, 0x00000000, 0x00) {}
      Alias (P004, CPU4)
    }
With:
    Scope (_PR)
    {
      Processor (P001, 0x01, 0x00000810, 0x06) {}
      Processor (P002, 0x02, 0x00000000, 0x00) {}
      Processor (P003, 0x03, 0x00000000, 0x00) {}
      Processor (P004, 0x04, 0x00000000, 0x00) {}
    }
Without this patch, the installation usually stops somewhere here (this image is downloaded from some of the forums, but I didn't write down the original page and I cannot find it now again).
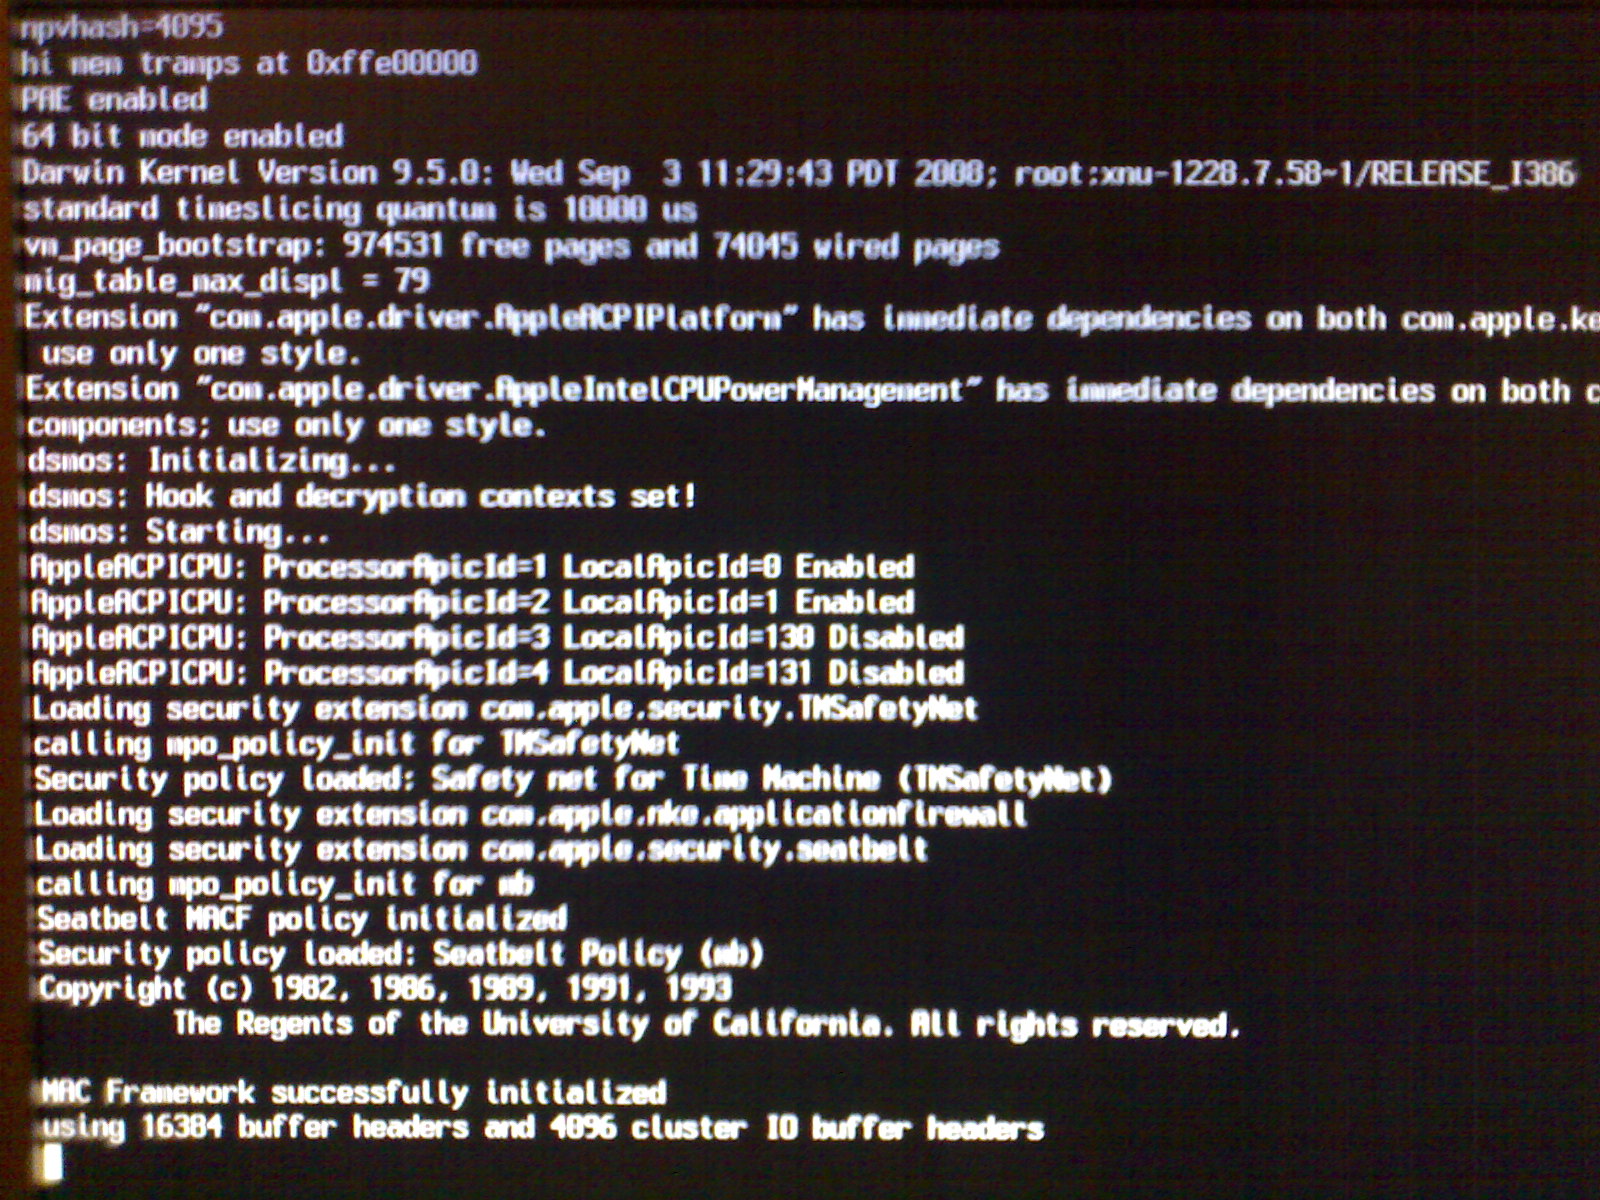
Patches for this motherboard -and many others- can be obtained in the insanelymac forums. I chose 2001-BIOS-Asus_P5Q_E_for_MAC_OS_X_&_all_OS__incl._by_Juzzi..ROM.zip
Bios setup
The hard disk must be set on AHCI mode. This was already my usual mode, no changes here.
This is the whole list of settings I use (what is not included here, makes no difference for OsX, or so I think):
- Main
- Storage information
- Configure SATA as: AHCI
- HD write protect: Disabled
- IDE detect time out: 0
- AHCI configuration
- CD/DVD time out: 0
- Storage information
- AI Tweaker (I am using DDR2-1066): set dram timing control as manual: 5-5-5-15-3-52-6-3
- Advanced
- Onboard devices conf
- HD Audio: Enabled
- Front panel type: HD Audio
- Marvel IDE: Disabled
- Marvel LAN1: Enabled (associated LAN BOOT ROM: Disabled)
- Marvel LAN2: Enabled (associated LAN BOOT ROM: Disabled)
- LSI Firewire: Enabled
- Serial port: Disabled
- USB Configuration
- USB: Enabled
- 2.0 Controller: Enabled
- 2.0 Controller mode: HiSpeed
- EHCI Hand off: Enabled
- Legacy support: Auto
- Plug & Play: Yes
- Onboard devices conf
- Suspend mode: auto
- Report Video: no
- ACPI 2.0 support: Enabled
- APIC support: Enabled
- APM Configuration
- Power off, everything disabled
Boot flash
This step formats a usb key and prepare it to be able to boot from any hard disk partition. This step will be needed to boot OsX Leopard the first time.
The information is found in this forum. (see step 5: creating a Bootable Usb Flash Drive), and requires Windows XP (or Vista)
- Format USB flash as Fat 32.
- Create a syslinux drive on it. This can be done by extracting the downloaded .zip files ( 1 / 2 ) to a temporal directory. This temporal directory contains a win32 subdirectory. Execute on it: syslinux.exe -ma DRIVE_LETTER:
- Copy the files from here into the USB flash. This file contains the image for the BOOT 132 method -that is, contains some drivers that allows OsX to start on the Asus P5Q machine.
- Ensure that the flash drive is active (in Disk Management, select the key, right click, and select Active)
Mac machine
Before installing OsX vanilla, you need, in fact, a working OsX installation. On my final setup. I used a Mac Mini -which means that I installed OsX on a valid Apple machine, although I later moved the target hard disk to a PC-, but for my first try, documented now, I used iDeneb.
I went shopping for a torrent iDeneb v1.4 (10.5.6), which a found at an irresistible price. I burned it and then disconnected my usual hard drive (TARGET) and install iDeneb on a partition on my additional hard disk (TEMP). I found the main information to setup it up on this blog. Basically, it involves starting the iDeneb installation and, before installing it, pressing the Customization button to:
- Use original ACPI: ACPI Kext 10.5.6 (thanks to the Bios patch)
- Audio: select Apple Azalia Audio.
- Network: select Apple Yuka.
- Fix: Firewire remove. (not sure if this is needed).
This ensures a successful iDeneb installation. Afterwards, start it, and you have already a working OsX machine!
Restore Leopard (installation disk)
This point refers to installing Leopard 10.5.6. Whether you buy it or get it on alternative ways, you have a .dmg file, that will be restored to a hard disk partition (this is the OsX notation). In my case, I used a separate hard disk (FINAL):
- Use Disk Utility
- Format the hd called FINAL with at least two partitions (10 Gb per partition is enough). These two partitions will be called OSX and RETAIL.
- This hard disk must be formatted as GUID (no MBR)
- Select now the RETAIL partition in Disk Utility and click Restore, using as source the OsX Leopard image (.dmg).
Now, you have a partition called RETAIL that contains the Leopard 10.5.6 installation drive.
Install Leopard
Disconnect now the TEMP hard drive, letting only the FINAL hard drive. Plug also the Usb flash key created before, and boot the machine from the USB key.
This operation will start syslinux, that in turn starts the boot132 kernel. It will let you choose the drive to start. Choose the RETAIL partition. This triggers the installation, that will be done on the partition labeled as OSX.
Setup correctly the OsX installation, everything should work just fine, but at the end -around 10 minutes later-, the installation will fail with the message 'Cannot be installed'.
FINE! Reboot the machine, again using the USB key, but selecting now the OSX partition.
Tune the installation
In this moment, you have a working OSX installation where lot of things do not work, including sound or network. In addition, it requires the USB flash key to be started. This is solved by installing chameleon and the drivers (Kexts):
- Install Chameleon, with all the Kexts. In my case, this was Chameleon 2 rc1.
- Run EFIStudio, select Nvidia 8800GT 512 Mb, Add device, and update manually the references inside from 8800 to 9800, then write to com.apple.Boot.plist.
- The directory /Extra/Extension should only contain:
- AppleDecrypt.kext (can be found in the USB key, inside initrd.img).
- AppleHDA.kext (for the sound, ADI2000B), see this post
- IOAHCIBlockStorageInjector.kext, to solve the problem with orange icons.
- IONetworkingFamily.kext, for network.
- skge.kext, for network, as the motherboard has two different LAN chips.
- OpenHalRestart.kext, for shutdown and restart
- Execute now kexthelper, to replace the following original Kexts:
- AppleHDA.kext
- IONetworkingFamily.kext
You an use the normal OsX update routines to install Leopard 10.5.7. Have the boot flash and the previous Kext handy, because perhaps you need to restore Chameleon and/or the kexts installed with kexthelper. But the update works without further problems!
To have About this mac show the right information, add the smbios.plist file to the /Extra directory.
To have Chameleon automatically enter OsX, edit /Extra/com.apple.Boot.plist and add
<key>Timeout</key><String>1</String>
One drive to rule them all
My final step is to use a single drive to hold Vista / OsX / Linux. My target drive has only 300 Gb, but I find that more than enough for all purposes. Of course, if you have a couple of terabytes you can play it better. My steup includes:
- First partition, primary, 105 Gb: Vista 64 bits. I do full backups of this partition using Acronis True Image, and the only limitation I have is that the partition cannot be moved around. That is, if is backed up as the initial partition, it cannot be restored as the second partition.
- Second partition, primary, 95 Gb: Os X. This is installed by placing this hard disk and the FINAL disk used on the normal Leopard installation, and then restoring the working partition into this second partition (plus adding then Chameleon again).
- Third partition, primary, 1 Gb. This is the boot Linux partition.
- Fourth parition, logical, 4 Gb, as swap drive for Linux.
- Fifth partition, logical, 25 Gb, Ubuntu.
- Sixth partition, logical, 70 Gb, Fat 32, as added partition for Windows.
Whatever is the size of your hard drive, the last partitions are much slower than the initial ones. That is why Vista has 170 Gb in two partitions: downloads, and information not usually updated can go to the last partition.
For this setup to work, I install Grub on the MBR, and it can start all: Ubuntu, Vista or OsX (Chameleon, in fact)
Upgrade to 10.5.8
I spent now a couple of days doing the upgrade to 10.5.8. The experience was quite Linux-like, as the sound stopped working. Well, the Ethernet connection went also down, but that was easily solved by reinstalling the associated kext (IONetworkingFamily.kext). With the audio, nothing worked. I tried the normal software update way, then the combo update, without luck.
The solution has been to remove the AppleHDA.kext, installing instead the VoodooHDA kext from the homonym open source project. Back to (normal) life. Thanks a lot to James Toy, the VoodooHDA project developer, great work, as even the allegedly problematic digital output works (well, not by my count).
To install it, I remove the AppleHDA.kext from the /System/Library/Extensions and /Extra/Extensions folders, and copied on /System/Libray/Extensions the VoodooHDA.kext.
Unfortunately, life is not that easy; sleep works, as fine as usual, but after sleep, the sound goes bollocks. This is strange, as the logging from VoodooHDA shows a lot of work related to the sleep/restart process, but, currently, this is just the case. There is a simple solution; unload the VoodooHDA.kext before sleeping, and load it again on wake up. This solution requires the SleepWatcher daemon, plus the following new scripts on /etc/rc.wakeup and /etc/rc.sleep (I only installed the SleepWatcher daemon, not the additional StartupItem package):
KEXT=/System/Library/Extensions/VoodooHDA.kext

while true; do
        kextunload ${KEXT}
        if [ $? -ne 0 ]
        then
                break
        fi
        sleep 1
done;
KEXT=/System/Library/Extensions/VoodooHDA.kext

while true; do
        kextunload ${KEXT}
        if [ $? -ne 0 ]
        then
                break
        fi
        sleep 1
done;

while true; do
        kextload ${KEXT}
        if [ $? -eq 0 ]
        then
                break
        fi;
        sleep 1
done;
As expected, both scripts must have proper execution rights, and be owned by root:wheel